So I've decided to do a quick (I say quick, but let's be honest, it'll probably be far from it) blog about my make-up routine on a typical day (college, chilling at home, etc). This literally takes me about five minutes tops in the morning and is really easy to do. I am much more experimental when it comes to weekends and events, but on a day-to-day basis, I just want my make-up to look good, cover blemishes and make me feel that little bit more confident. Some days I might pair this with a slightly bolder lipstick, but usually I go for a more natural look all over.
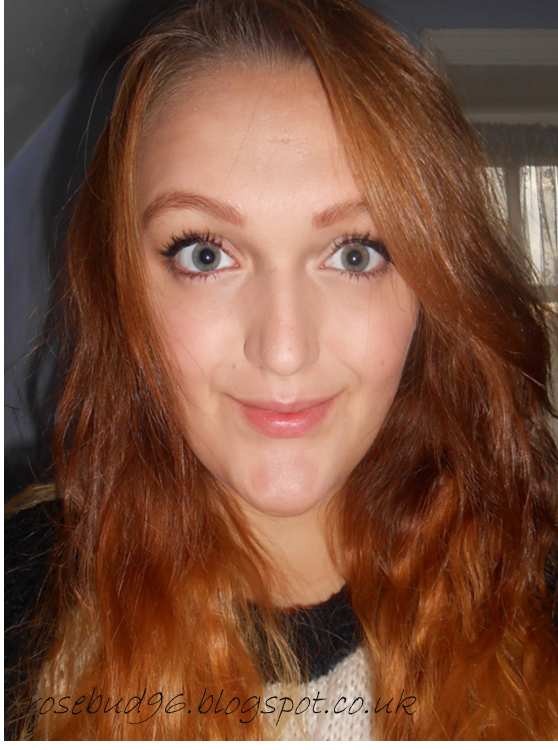
Here is a photo of me without any make-up (not taken today, I forgot to do a 'before' shot):

Before I even start my make-up in the morning I cleanse, tone and moisturise, using No7 Beautiful Skin range for normal/oily skin (a blog about skin routine to come soon).
This is the finished look:

They're not the best quality (sorry) and my hair is an actual catastrophe because I left it in plaits last night. As you can seen though, the face is a lot brighter and better looking than when I'm completely face-naked.
Here are the products used:

From left to right: Boots Natural Collection Eyeliner in Black, Real Techniques Blush Brush and Expert Face Brush, Collection 2000 Mosaic Glow, Maybelline Fit Me Powder Flawless in Silky Beige, Maybelline Volum Express The Mega Plush Mascara, Rimmel London Lasting Finish Mono Blush in Live Pink, Collection 2000 Lasting Perfection Concealer in Medium and Benefit Brow Zing in Bronzing Light.
Step 1: I dab the concealer under my eyes, over my scars and on any blemishes and then blend it in using my Real Techniques Expert Face Brush. This concealer is really good for people with oily skin as well.
Step 2: Using my blush brush, I put on a thin layer of the Maybelline Fit Me powder to just help even out my skin tone and stop any shining.
Step 3: Bronzer. Although my bronzer is broken and gone from pressed to loose powder, I still use it. I just shake it so nothing explodes when it is opened and then use the powder collected on the lid. I then use my blush brush to dust the bronzer under my cheekbones, around my temples, on my forehead, down my nose, on my chin and just under the jaw line. This sounds like a lot, but I only use the smallest amount so I don't look orange and it just gives me a sun-kissed glow. I find its better to blow on the brush to remove excess powder before starting because its easy to add more on if its not enough, but its really annoying and hard to remove if you end up too bronze.
Step 4: Next, I use my blush brush for its actual purpose: blusher. I do a close-mouth-pouty-smile (if you get what I mean), because it really pushes out the defined shape of my cheekbones and guides me to where I should be putting on my blusher. Like bronzer, I blow on the brush first because I don't want it to be too much and its easier to add to it rather than take it away.
Step 5: This is slightly in the 'wrong' order to some people. Most like doing eye liner before mascara, but I do the opposite, just because I find it easier to apply eye liner closer to the lash line once the mascara is on. Anyway, I use the Maybelline mascara, wiggling the wand from the lash line to the ends a few times. On a college/normal day, I'll only do one layer. To do the bottom lashes, I really tilt my head down and look up into the mirror, gently brushing the lashes rather than wiggling the brush because I don't like my bottom lashes to look clumpy or too thick.
Step 6: Liquid eye liner. This is a really cheap brand that most would turn their noses up at. I constantly try new brands like L'Oreal Super Liner and Rimmel Scandal Eyes, but I've been using this since I was 12 and a really like it. Mainly because a lot of eye liners say they are black, but they can turn out a more grey colour, which I don't like. Also, I've gotten really used to the application of this brand, so I find it easier to create good lines. However, I'm determined to try out other kinds and let you know if I find anything better than this £1.99 beauty. I start off slowly sweeping the brush right along the lash line. After that, I follow the natural creases in my eye to get flicks. Like blusher and bronzer, it's better to go slowly and increase the thickness of the line as you go. Alternate the stages with your eyes so that they look nice and even and this way its easier to get even flicks and line shapes.

Step 7: Eyebrows. I naturally have quite light, mousy brown hair and so my eyebrows are the same colour. They are also quite sparse. So, I do need to fill in my brows. However, I hate how obvious it looks with pencils and I don't like it being too obvious or thick. This brow kit is literally the best thing out there for your brows EVER. It comes with a wax, a powder, two brushes and tweezers. I use the angled brush to apply the wax on both eyebrows. Then, I use the other brush to put the powder on, which sets the wax. Then, if I have any horrific hairs out of place, I'll pluck them with the tweezers. I makes my brows look really good but not nasty and obvious, more natural. I'd definitely recommend that EVERYONE gets one of these palettes. One of my aims is to actually bother more with eyebrow maintenance and I'm going to start by going to get them waxed next week (which I'm not sure I'm looking forward to).
That's it! I don't really wear lipstick. But when I do, on a normal day I'll wear a Revlon Colour Burst Lip Butter. My favourite shade is pink lemonade. Or, if I'm feeling bolder, I'll use the Maybelline Superstay 14 Hour lipstick in infinity fuchsia.
I hope this makes sense and helps for any tips you might want.
This literally takes me five minutes maximum in the mornings and it just gives me that little bit of a lift before I go out the house. Also, I understand that maybe some people have more blemishes and want to use foundation as well as concealer. When I'm having a bad skin day, I'll use the Smashbox 15-hour wear foundation and apply all over using my expert face brush after my concealer application. But I'll do a demonstration using this product when I do more 'going-out' make-up looks.

I'd really like to hear about your favourite brands and any recommendations you have for me (especially on the front of liquid eye liners). Please leave a comment and let me know what you think :)
Thanks for reading, hope you found this useful or at least got a bit of amusement out of my little ramblings :)
Rosie
-x-
"Don't wish for it, work for it"
No comments:
Post a Comment